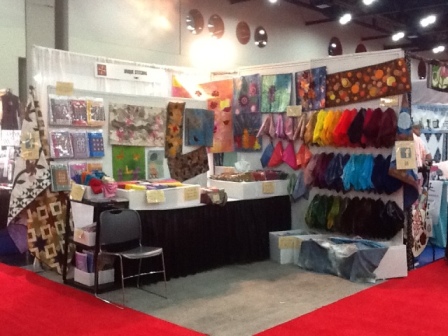
I love adding different sorts of media to a collage or art quilt. Different materials bring the characteristics of that material to the piece and extend the impact. One of my favourites is metal. Metal can be added in a lot of different ways. In this post, I will show you how simple it is to stitch metal to fabric. This blog post is an extract from one segment of my Tremendous Textiles online class. Information on joining that class can be found here: http://www.uniquestitching.com.au/p/9144486/online-class—tremendous-textile-art-techniques-2017.html
Working with metal can be a bit intimidating to some people, but there are lots of different metallic elements that can be added to a fibre art project that can be extremely effective. At their most basic, metal charms, buttons and old jewellery can really focus a project. Sometimes you just need something small to be an offset to a focal point or to add a bit of light or interest to the project and sewing a charm or other small metal element might be the perfect thing.
At other times, adding metal can be a significant part of the project. In this segment of the course, I am going to focus on adding metal as a focal point or a major media in the form of metal shim.
Metal shim is very fine metal cut into sheets. Most of the shim is aluminium that has been coated with colour. However, some is 100% copper (which I love). You can get different weights, but generally the craft quality shim does not publish the weight. This can be a little challenging if you are looking for something specific, but most of the brands produce a light weight, flexible shim that is easy to handle and work with. You can buy the commercially available metals, or you can use aluminium soft drink cans; just cut off the top and bottom and slice the cylinder into one sheet. I don’t drink any form of soft drink, so see the $8 to $10 per packet of shim far better value, but if you wanted to explore this technique broadly, you could raid the local recycling depot.
The Art Emboss brand has a light and a medium weight. The light weight is equivalent to most other craft brand metal sheets or shim.
These are the brand that I use and have on my website at the moment.
When using shim, you can cut it with scissors, a rotary cutter or die cutting machine. You can emboss it manually or in embossing sleeves and you can hand or machine stitch through it.
Most of the coloured aluminium is plain silver on one side and coloured on the other. You can mix up using both sides for variation or you can sand back some of the colour to expose silver. This is particularly effective if you emboss the shim and sand back the colour from the raised areas. You can also add colour to the shim. Colour products designed for non porous surfaces are the most effective. For example, alcohol inks and StayzOn ink pads are great for colouring metal. Embossing powder is very effect too.
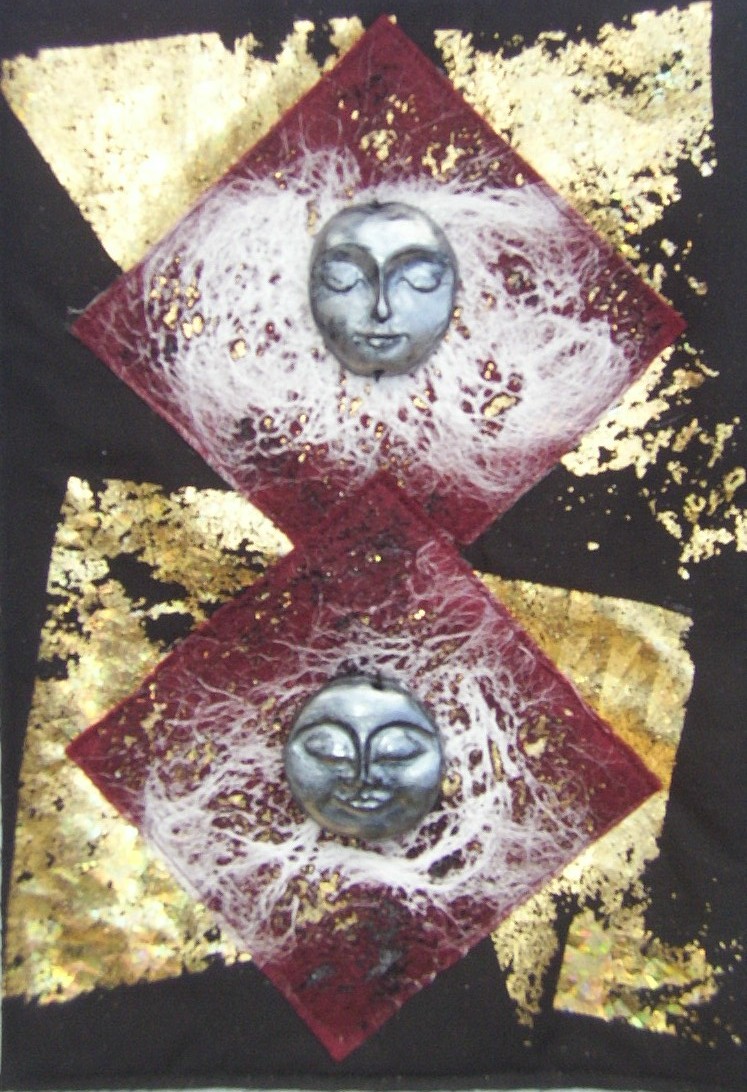
The very bright piece above has blue coated aluminium shim. The shim has been embossed in embossing sleeves and then alcohol ink has been splattered. The metal is sewn to lutradur and felt.
Another very effective combination of materials is shim that has photo transfers. Transfer Artist Paper works well for this or sheer fabric like the organza can be stitched over the metal shim. The shim continues to catch light through the photos and can look quite stunning.
In its simplest form, we can stitch it, as is onto a fabric background or applique onto the shim and then stitch it down. This is what I am showing you on the video and the finished piece is shown below.
To emboss your metal by hand, you can use line drawings or stencils for the basic shape. There is a really good tutorial on using stencils to emboss metal by Magdalena Muldoon for Stencil girl. You can find it here: http://www.stencilgirltalk.com/2014/03/stencils-meet-metal-with-magdalena.html